Who doesn’t love and appreciate some good old-fashioned SEO checklist, huh? Not me, that’s for sure, and that’s why I always loved looking at what other content creators and SEO experts had included in their own lists. This time around, I thought it would be a great idea to share my own SEO checklist, based on my 15 years of experience in the field and what helped my clients all those years.
- 1. Maintain your older content and keep your articles connected
- 2. Submit your website to Search Console and Webmaster Tools
- 3. Learn all about using the right Schema types
- 4. Compress and convert your images to WebP format
- 5. Fix all the internal and external broken links
- 6. Use a fast web hosting and a CDN service
- 7. Implement more types of content
- 8. Improve user experience wherever it’s needed
- 9. Make sure your website passes the Core Web Vitals
- Core Web Vitals are used by our ranking systems. We recommend site owners achieve good Core Web Vitals for success with Search and to ensure a great user experience generally.
- 10. Configure Instant Indexing for ultra-fast indexing
It’s 2025 folks, a lot has changed in the world of SEO, and as usual, nothing has really changed. New algorithm updates are common nowadays, and like every year, the content creators who kept quality over anything else saw no issues with their rankings. While Google and Bing are making lots of changes, from all the websites that I’ve handled all of those years, only the ones that had been over-optimized saw a decrease in their rankings.
When I say “over-optimized”, I’m talking about those website owners who do everything that they can to have the best possible SEO score in various tools and services but forget to actually do what matters; Create high-quality content that people will search for. With that in mind, you don’t need to do something “magical” to get good rankings, but ultimately keep your content’s quality as high as possible.
Apart from that, there are some essential things that you can do to make it “easier” for search engines to index your website, although that’s pretty easy for them nowadays. Now, a lot of the stuff that this year’s SEO Checklist includes, focuses on improving the user experience, such as speeding things up, and that’s what search engines want; To send their visitors to websites that provide high-quality content and great user experience.
1. Maintain your older content and keep your articles connected

Instead of writing and publishing more new content, just take a few hours every now and then and go back to check for any outdated posts. You should do that every few months based on your content and how quickly things change.
To make things easier, I’ve been using Capacities to keep track of all the blog posts that I am writing and they may need an update in the following months. For example, while writing this SEO Checklist, I’ve added a note on my Capacities that this article will absolutely need an update every 8 to 12 months, as SEO is rapidly changing and involving.
But an update is not always a big one, as many times you’ll only have to update a couple of paragraphs, maybe fix a broken link, replace low-quality images, etc. Whatever it is, if it’s necessary and will improve the overall quality of the content, you should always go for it.
Remember; Search engines can detect new changes to articles and pages, and they can see if they’re constantly getting updated with new information. And keeping your content updated, means that you keep a stable flow of organic visitors sharing this content, and keep coming back to check for new information and updates, take part in the discussions in the comment section, etc.
Keeping everything “connected” is crucial. SEO experts call it “backlinking“, and it’s one of the best ways to show Google and Bing what’s the structure of your website. There are two backlinking types; Internal and external backlinks. Internal links are any link that redirects your visitors to your website’s inner pages, while external backlinks redirect to third-party websites that [they should] provide similar information.
Let’s say that you’re a blogger writing about blogging and helping other people start their own blogs, make money from displaying ads, and so on. You have already written and published your most important article, full of affiliate links, and optimized to provide the best and highest-quality information available today. It’s called “How to create a WordPress website in 20 steps“. None of your competitors has published such a detailed and awesome blog post, and you know that because you did your research. But your article, as good as it may be, is not even close to competing with the “big guys” out there.
So what do you do? Well, you start connecting it everywhere! Start by going back to all of your published blog posts, how many are similar to creating a new website, and where you could add that link that will help your readers? For example, if you have a blog post called “Best CMS platforms to start a blog”, you can link your article there, as people will read that because they either want to start a new blog or migrate to another blogging platform. Either way, you drive traffic by connecting your articles with each other, creating a better and more detailed structure of your content.
After you made sure you did a good internal backlinking optimization to your whole blog’s content, it’s time to focus on external backlinks. You have great structured content, and it’s time for other websites to start mentioning it. Theoretically, the more external backlinks (mentions) a website gets, the more trustworthy seems to be for search engines, and that seems to keep rankings pretty high. With all that being said, you can write guest posts, which is a great way to earn a backlink by providing a high-quality blog post that is SEO-optimized for the owner, and he or she in return gives you a do-follow link.
Tip: Do research for other websites that provide similar or the same content as you do. Write a high-quality blog post that will drive traffic for them, and instead of linking your website’s homepage, link to your most important blog posts and the ones that you want to be in the first place in search results. For example, if you wanted to drive traffic to a guide for creating new websites with ease, you could write a guest post called “10 Mistakes you need to avoid when creating a new website”, or something similar. You get the point.
Remember, one link is enough from one domain name, so don’t waste your time writing a bunch of guest posts for a specific website, except if it has high traffic and you get lots of clicks to your website. After a few days, check your statistics for an increase in organic and referred traffic. If you’re using SEO tools such as Rank Math SEO, you can check your “Rank Tracker” on your Analytics page to see if your content’s rankings are having better days and if their positions have seen a rise after the changes.
2. Submit your website to Search Console and Webmaster Tools
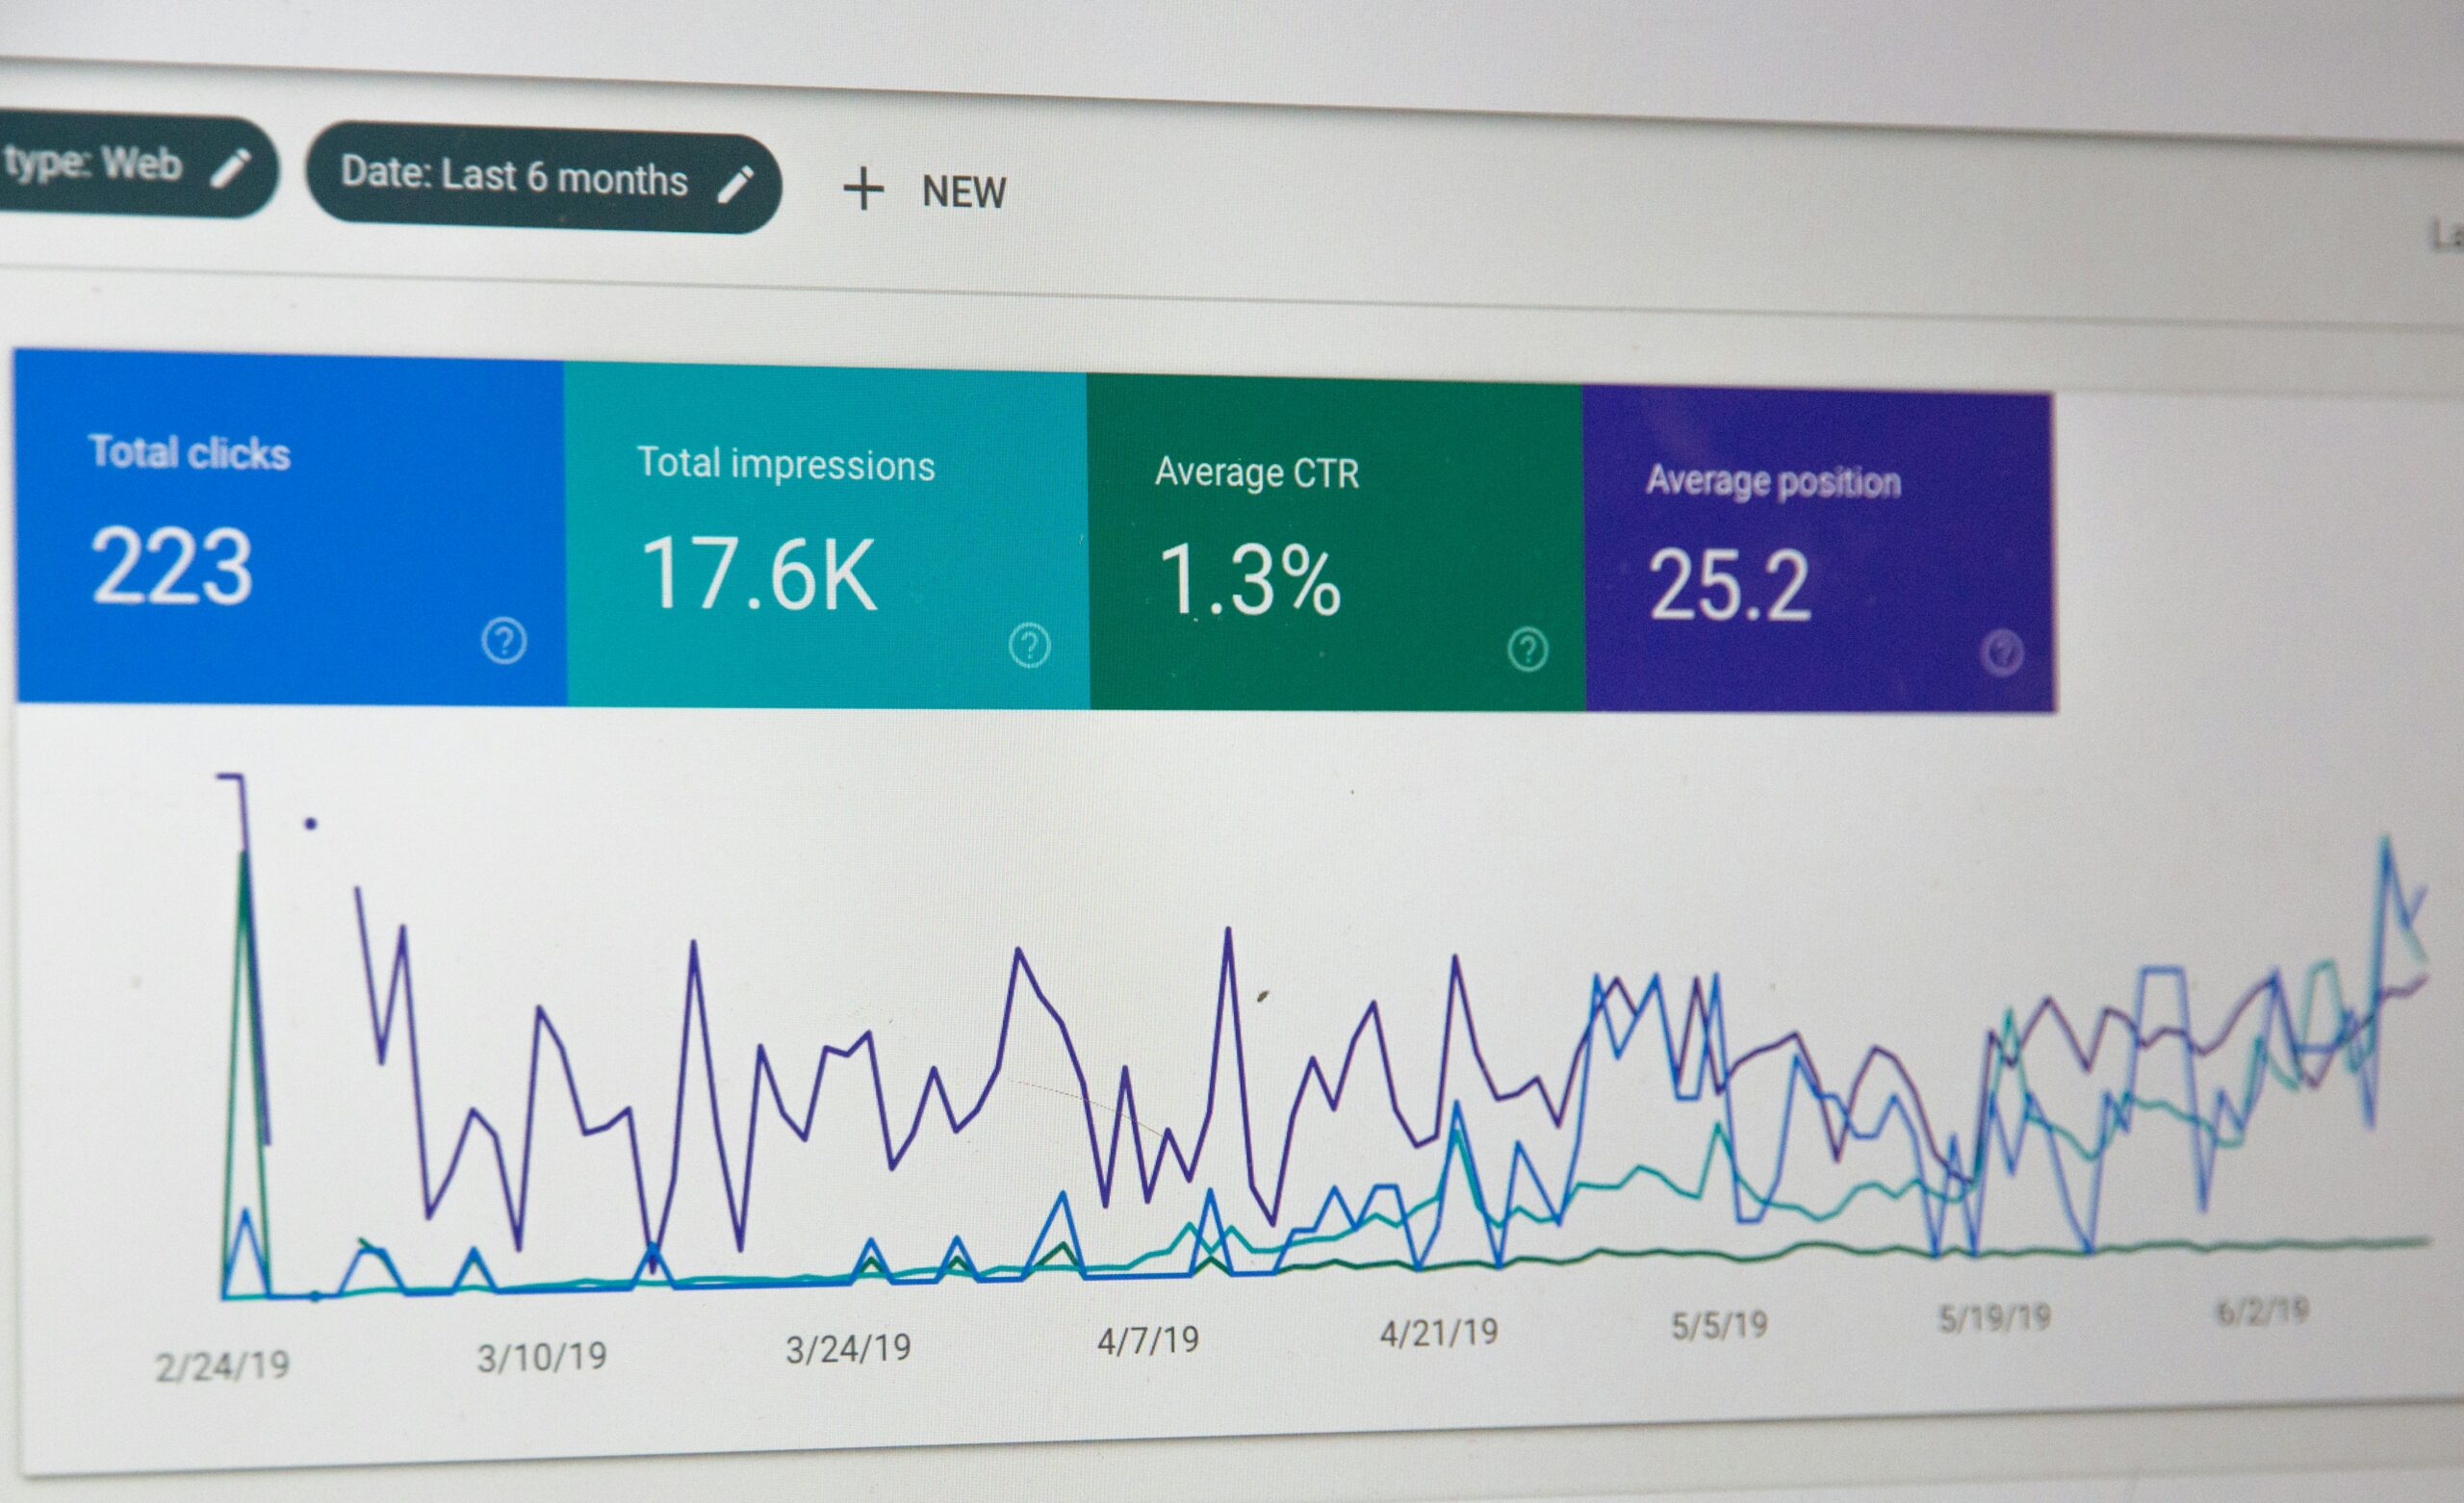
Google’s Search Console and Bing’s Webmaster Tools are the two most important tools for every website owner and SEO expert. They’re used for checking all the issues that prevent your content from ranking higher, tips and tricks to improve your SEO, checking your internal and external backlinks, making sure search engine robots are indexing your website fast enough, and even taking a deeper look at how many people are seeing you on Google and Bing and how many of them are actually clicking on your content.
If you haven’t already, go and setup a new account on Google Search Console and verify the ownership of your website by adding a simple line of code on your website, or verifying it using your Google Analytics account (if you’re using the service). Once verification is completed you get access to your website’s page on Search Console, click on the “Sitemaps” page in the left-side menu, and make sure you’ve submitted your website’s sitemap.
You’ll have to wait a few hours or days (depending on your traffic) until Google Search Console analyzes and shows your website’s statistics.
Once you’ve completed those steps, head over to Bing Webmaster Tools and sign up for a new account. Bing is providing users the option to import all their settings from Google’s Search Console, so use that to avoid adding your sitemap and information again. Bing’s Webmaster Tools is an absolute beast when it comes to understanding what’s wrong with your content and, unlike Google, instead of instantly seeing a drop in traffic because of some issue or bad SEO practice, Bing lets you know what’s wrong way ahead, so you can go and fix everything.
Bing Webmaster Tools also has simpler instructions on what’s wrong with your content and what you’ll have to do to fix that, most of them are also found on Google’s Search Console, but with that tool, even advanced SEO experts sometimes find themselves wondering.
3. Learn all about using the right Schema types
One of the most common issues that I am seeing from all of my clients is not using the right Schema types in their pages. What is a Schema type, you may ask? Put simply, a Schema type is a few lines of code telling search engines what this page is about and what it may include. Now, you don’t need to write any code, so don’t worry about that, there’s always an easier way to do things.
If you have a WordPress website, just go ahead and install Rank Math SEO. Once enabled, go into any page or article, click on the Rank Math icon in the top right corner of the Gutenberg editor, and click on the “Schema” icon. Rank Math should’ve automatically detected the page type and already added a default Schema type, but you can use the “Schema Generator” to add more Schema types, create your own, or even copy-paste your competitor’s Schema types.
Let’s say that you just created a recipe for your blog, make sure you’ve added the “Recipe” Schema Markup on your post, so Google and Bing can get all the necessary information, such as the number of servings, calories, fat, type, and more. If you writing a product review, you add the pros and cons in your Schema Markup and have the rating stars appear in search results.
With the right Schema Markup, search engines can easily index and better understand your content and what information is provided/included.
4. Compress and convert your images to WebP format
Google developed the WebP format back in 2010, which can easily achieve 26% smaller file size than PNG and 34% smaller than JPEG, which is crucial for everyone looking at getting the most out of speed, saving disk space, and reducing bandwidth use. Thankfully, it’s pretty easy to automatically bulk compress and convert all your images using a CMS platform such as WordPress.
There’s a plethora of plugins that can compress and automatically convert your PNG and JPG images to WebP, keeping or deleting the original formats. If you’re looking at saving disk space on your server, make sure you’ve deleted all original files after compression and conversion. Keeping a backup before proceeding is absolutely crucial, as you may experience big issues such as images missing or being greyed out, so make sure you always keep a backup before using any of those plugins.
Best WordPress plugins to compress and convert images to WebP format:
- WebP Uploads: The official plugin provided by the WordPress Performance team. It’s as simple as installing it and forgetting about it, and it will automatically convert your images to WebP as they’re getting uploaded. It cannot convert already imported images.
- WebP Express: This is the most popular plugin for compressing and converting your images to WebP format for free. It can also convert all your existing images and works with almost every server setup. Unfortunately, it doesn’t let you delete your original images to save disk space, but only the already converted types.
- Bulk Image Resizer: A freemium plugin that can convert your images to WebP format (even the existing ones), and delete the old formats to save disk space, which is crucial for many website owners. It also provides AVIF conversion but it’s available in its Pro version.
- LiteSpeed Cache: If your website is running with LiteSpeed Cache, the plugin can automatically compress and convert your images to WebP, without the need of a third-party plugin. But this plugin only works with servers using the LiteSpeed technology.
Make sure to check your articles and pages and see if everything’s fine after compressing and converting your images to WebP format. If you get into any trouble, which you shouldn’t, restore your backup and see what you did wrong – although most plugins can handle things automatically without any issues.
5. Fix all the internal and external broken links
Error pages are among the worst experiences a user can get while visiting a website or an app. The most popular of all; The 404 Error Pages, which most visitors will get if you have broken links on your website. But internal links aren’t the only issue, as you may have added links in your posts and pages that redirect to external websites, which may also be broken.
While you could check Google’s Search Console and Bing’s Webmaster Tools to watch for any broken links, an easier way is using the Broken Link Checker plugin for WordPress, which will automatically check for external and internal broken links, giving you an easy-to-use environment from which you can edit, unlink, or delete your broken links.
Tip: Plugins such as the Broken Link Checker can be pretty resource-heavy because they’re constantly checking all of your content for broken links. To avoid stressing your server’s resources, keep it disabled and only enable it once in a while to bulk fix all your broken links (if there are any).
Rank Math SEO can also help you keep track of your broken links, and automatically redirect visitors to a specific page (such as the homepage) whenever they visit a 404 error page.
6. Use a fast web hosting and a CDN service
How many times have you seen other SEO Checklists recommending using good, reliable, and fast web hosting? Probably too many, and that’s based on some solid conclusions. Just by migrating a website to a faster server, you can immediately watch your website’s speed score going high and getting the “green flag”, meaning that it’s passing some important Core Web Vitals suggestions.
Let’s take Hostinger as an example, which provides ultra-speed web hosting plans, all of them running using LiteSpeed technology. The company also provides the LiteSpeed plugin with a 1-click installation, which will make your website a whole lot faster, and by configuring it a bit, you can pass Google’s Core Web Vitals in a breeze.
Just by migrating a website from an old VPS server to Hostinger, we immediately saw a 56% increase in website speed and response, which also resulted in increased sales over a three-month period after the migration was completed. That was great news both for me and my client, and I saw similar results from other websites when I was comparing them before and after the migration.
But e-commerce stores weren’t the only ones who’ve seen an increase, blogs also saw an increase in their daily visitors, and ads must have had a party because the ad revenue also saw an increase. And no, we didn’t make changes to the way AdSense was displaying the ads nor we were running any ad experiments at the time.
Finding an ultra-fast web hosting provider is crucial when running an online business or working as a full-time content creator/blogger, so don’t waste your time on anything old, slow, and “clunky”.
7. Implement more types of content

Google and Bing love good and high-quality articles, and they also share the same love for videos, podcasts, and images. When you compare an article with high-quality and unique images, your blog post’s rankings will probably be increased. Blog posts with images seem to have higher rankings and more engagement, while their bounce rate also seems to be lower, in comparison with text-only articles.
But want if you’d improved your content by providing even more types of content? How about, say, adding a video? I’ve seen many times in the past blog posts with videos getting a better ranking than blog posts without videos, and a good example (again) is recipes. While I was optimizing a food blog for a client, I quickly found out that recipe posts that included video tended to have a better ranking than recipes with only text and images.
I got the same results with my blog posts too. I tracked the position of some of my blog posts in Google and Bing’s results, and then I went ahead and created a video for each article – which was later uploaded on YouTube – added the video to every post, and after a week, all of those articles had moved over to first and second place. Some of them were already in third and fourth place, but some of them weren’t even on the first page of Google’s search results, and immediately went to the top.
Note: Make sure you create high-quality videos that are immediately improving your content and they are focusing on the same topic that your article is referring to. Don’t just upload random videos or add anything that’s not within the scope of your main topic.
But videos aren’t the only thing improving your content, podcasts and speakable audio is also crucial for people who cannot read. This is where the “Podcast” and “Speakable” Schema Markup types come into play, as technology seems to be heading towards to more speakable-friendly devices.
You can improve your content and user experience just by creating more similar content, but in other types of formats, focusing on everyone, and not just long-read lovers.
8. Improve user experience wherever it’s needed
Now that everything has been taken care of, you can focus on the user experience. This is where you take a big breath, visit your website’s front page from both your PC/laptop and mobile device and take a good look at the whole structure. Is there anything that it’s not important? Removing it may improve both the user’s experience and get you even higher speed scores.
I’ve seen many bloggers in the past adding so many widgets and installing various plugins to add stuff they don’t actually need. I’ve seen weather widgets in food blogs, the latest sports or finance news in personal blogs embedded from third websites, and even other affiliate boxes, widgets, blocks, etc.
One of the biggest mistakes I am also seeing is website owners filling their websites with Facebook Page boxes, Pinterest boards with the latest pins, X (Twitter) feeds, and more that could have been easily replaced with buttons or click-to-action banners that are more lightweight and faster to load. Focus on reducing the amount of external code that you have on your website, and replace everything you can with alternatives that are faster and improve the user’s experience.
After removing anything not needed, make sure your website is PC and mobile-friendly, and everything’s fully responsive on every device. Sometimes, moving things around when designing our websites for mobile devices is a great way to make them more mobile-friendly, without compromising our desktop design.
If you’re using CMS platforms such as WordPress with a page builder, it’s relatively easy to check and adjust your design for PCs, tablets, and smartphones alike.
9. Make sure your website passes the Core Web Vitals
If you successfully followed all my SEO Checklist recommendations, then your website should pass Google’s Core Web Vitals. To check that, head over to PageSpeed Insights, paste your website’s URL, and hit “Analyze“.
But why is the Core Web Vitals so important for website owners? Well, based on Google and what they describe in their documentation:
Core Web Vitals are used by our ranking systems. We recommend site owners achieve good Core Web Vitals for success with Search and to ensure a great user experience generally.
Google
With that in mind, it’s crucial to make sure your website passes all Google’s Core Web Vitals, not just for SEO, but for the user’s experience as well. The faster your pages are loading, the bigger the possibilities for every user to click and visit another of your pages, and the higher the chances of buying your products or services. No one likes a slow website, so slow speed scores mean a bad user experience, something that may affect your rankings.
There are hundreds of available tools and plugins that can help you achieve higher speed scores and get your website pass on Core Web Vitals. If you’re using WordPress, FlyingPress with its CDN or WP Rocket with its CDN will do most of the work with a few clicks.
Note: Sometimes it’s not that easy to pass the Core Web Vitals. You may need to remove a good amount of elements from your pages to load quicker, even when you’re using a fast hosting and a CDN service, and you’ve converted all of your images. Also, homepage speed is not the only thing you should test, check your pages and articles too.
10. Configure Instant Indexing for ultra-fast indexing
Here’s the thing; With Instant Indexing, you can bypass Google’s and Bing’s web crawlers, and have your new or updated content get indexed immediately. While you could use that for your blog posts and pages, Google recommends only doing that if you have pages with short-lived content, such as job postings, live stream videos, and events.
The Indexing API will keep your content fresh in search results, as Instant Indexing will allow it to be pushed individually from your other types of content. If you’re using WordPress, you can follow Rank Math’s step-by-step guide on how to setup Instant Indexing on WordPress with ease.
I’ve been using Instant Indexing for more than 2 years now for my blogs, sending all my new blog posts and updated content instantly to Google and Bing, and as of this moment, things are looking more than great. While my content is not short-lived, I never push anything that’s not important, including low-quality content, and I’ve had no issues whatsoever.
In the end, Instant Indexing is a great way to see your content get indexed almost immediately, but make sure you’re using it only after you’ve made sure everything’s as it should on your blog, both on Google’s Search Console and on Bing’s Webmaster Tools.
I will keep updating this SEO Checklist whenever it’s necessary, so make sure you’re keeping it saved somewhere in your bookmarks. I won’t get too deep when it comes to optimizing your content, instead, I’ll focus on the basic and most crucial things that Google and Bing are asking from website owners and SEO experts for their content to get indexed faster and easier.
Have you made any of the changes provided in the SEO Checklist? And if so, what change increased your rankings and daily traffic and what was your biggest SEO mistake? I’d love to hear all about your experience, thoughts, and ideas in the comment system at the end of this blog post.