There are two ways you can screenshot anything on your Windows PC or laptop: Either you’re gonna use the built-in tool provided by Microsoft or install a third-party screenshot tool to adjust, edit, and add graphics to your images.
As a content creator who mostly writes tech guides and walkthroughs, screenshots have played a big role in my work for as long as I remember. From simple full-screen images that show what is happening to selecting specific parts of my screen and adding arrows, text, numbers, and other graphics, screenshots are important.
There are many ways you can take screenshots on Windows devices, including by using Microsoft’s pre-built tools, or even by using a third-party app. Some ways may not be available in the oldest versions of the operating system, but if you’re using Windows 10 and later, you’ll most likely find them all.
1. Using the Snipping Tool in Windows
Starting from Microsoft’s built-in screenshot tool, Windows users can use the Snipping Tool to either take full-screen screenshots or select specific parts of their screens. This is the default app on Windows 10 and 11, and if you’ve accidentally deleted it, you can always install it through the Microsoft Store.
To take a screenshot with the Snipping Tool, simply follow these steps:
- Press Win + Alt + S on your keyboard and the pop-up window will show up. Additionally, you can search on Windows for the “Snipping Tool” and simply start it.
- From the pop-up window, select which mode you want to use to take your screenshot.
- Rectangular Mode: Lets you choose which parts of your screen you want to screenshot.
- Freeform Mode: Lets you choose a specific form of a screenshot you want to take (even if it has a weird shape).
- Window Mode: This lets you screenshot any type of an active window.
- Fullscreen Mode: Simply take a fullscreen screenshot.
- Once you take a screenshot, it will automatically be saved in the folder “Screenshots” in your ‘Pictures‘ folder.
The Snipping Tool is the easiest and quickest way to take screenshots on any Windows PC or laptop, and it’s pre-installed in every device that comes with Microsoft’s operating system. Although a great and simple way to take screenshots, it’s a simple tool that won’t give you any advanced features to edit, adjust and make edits to your images.
2. Using the Microsoft Paint
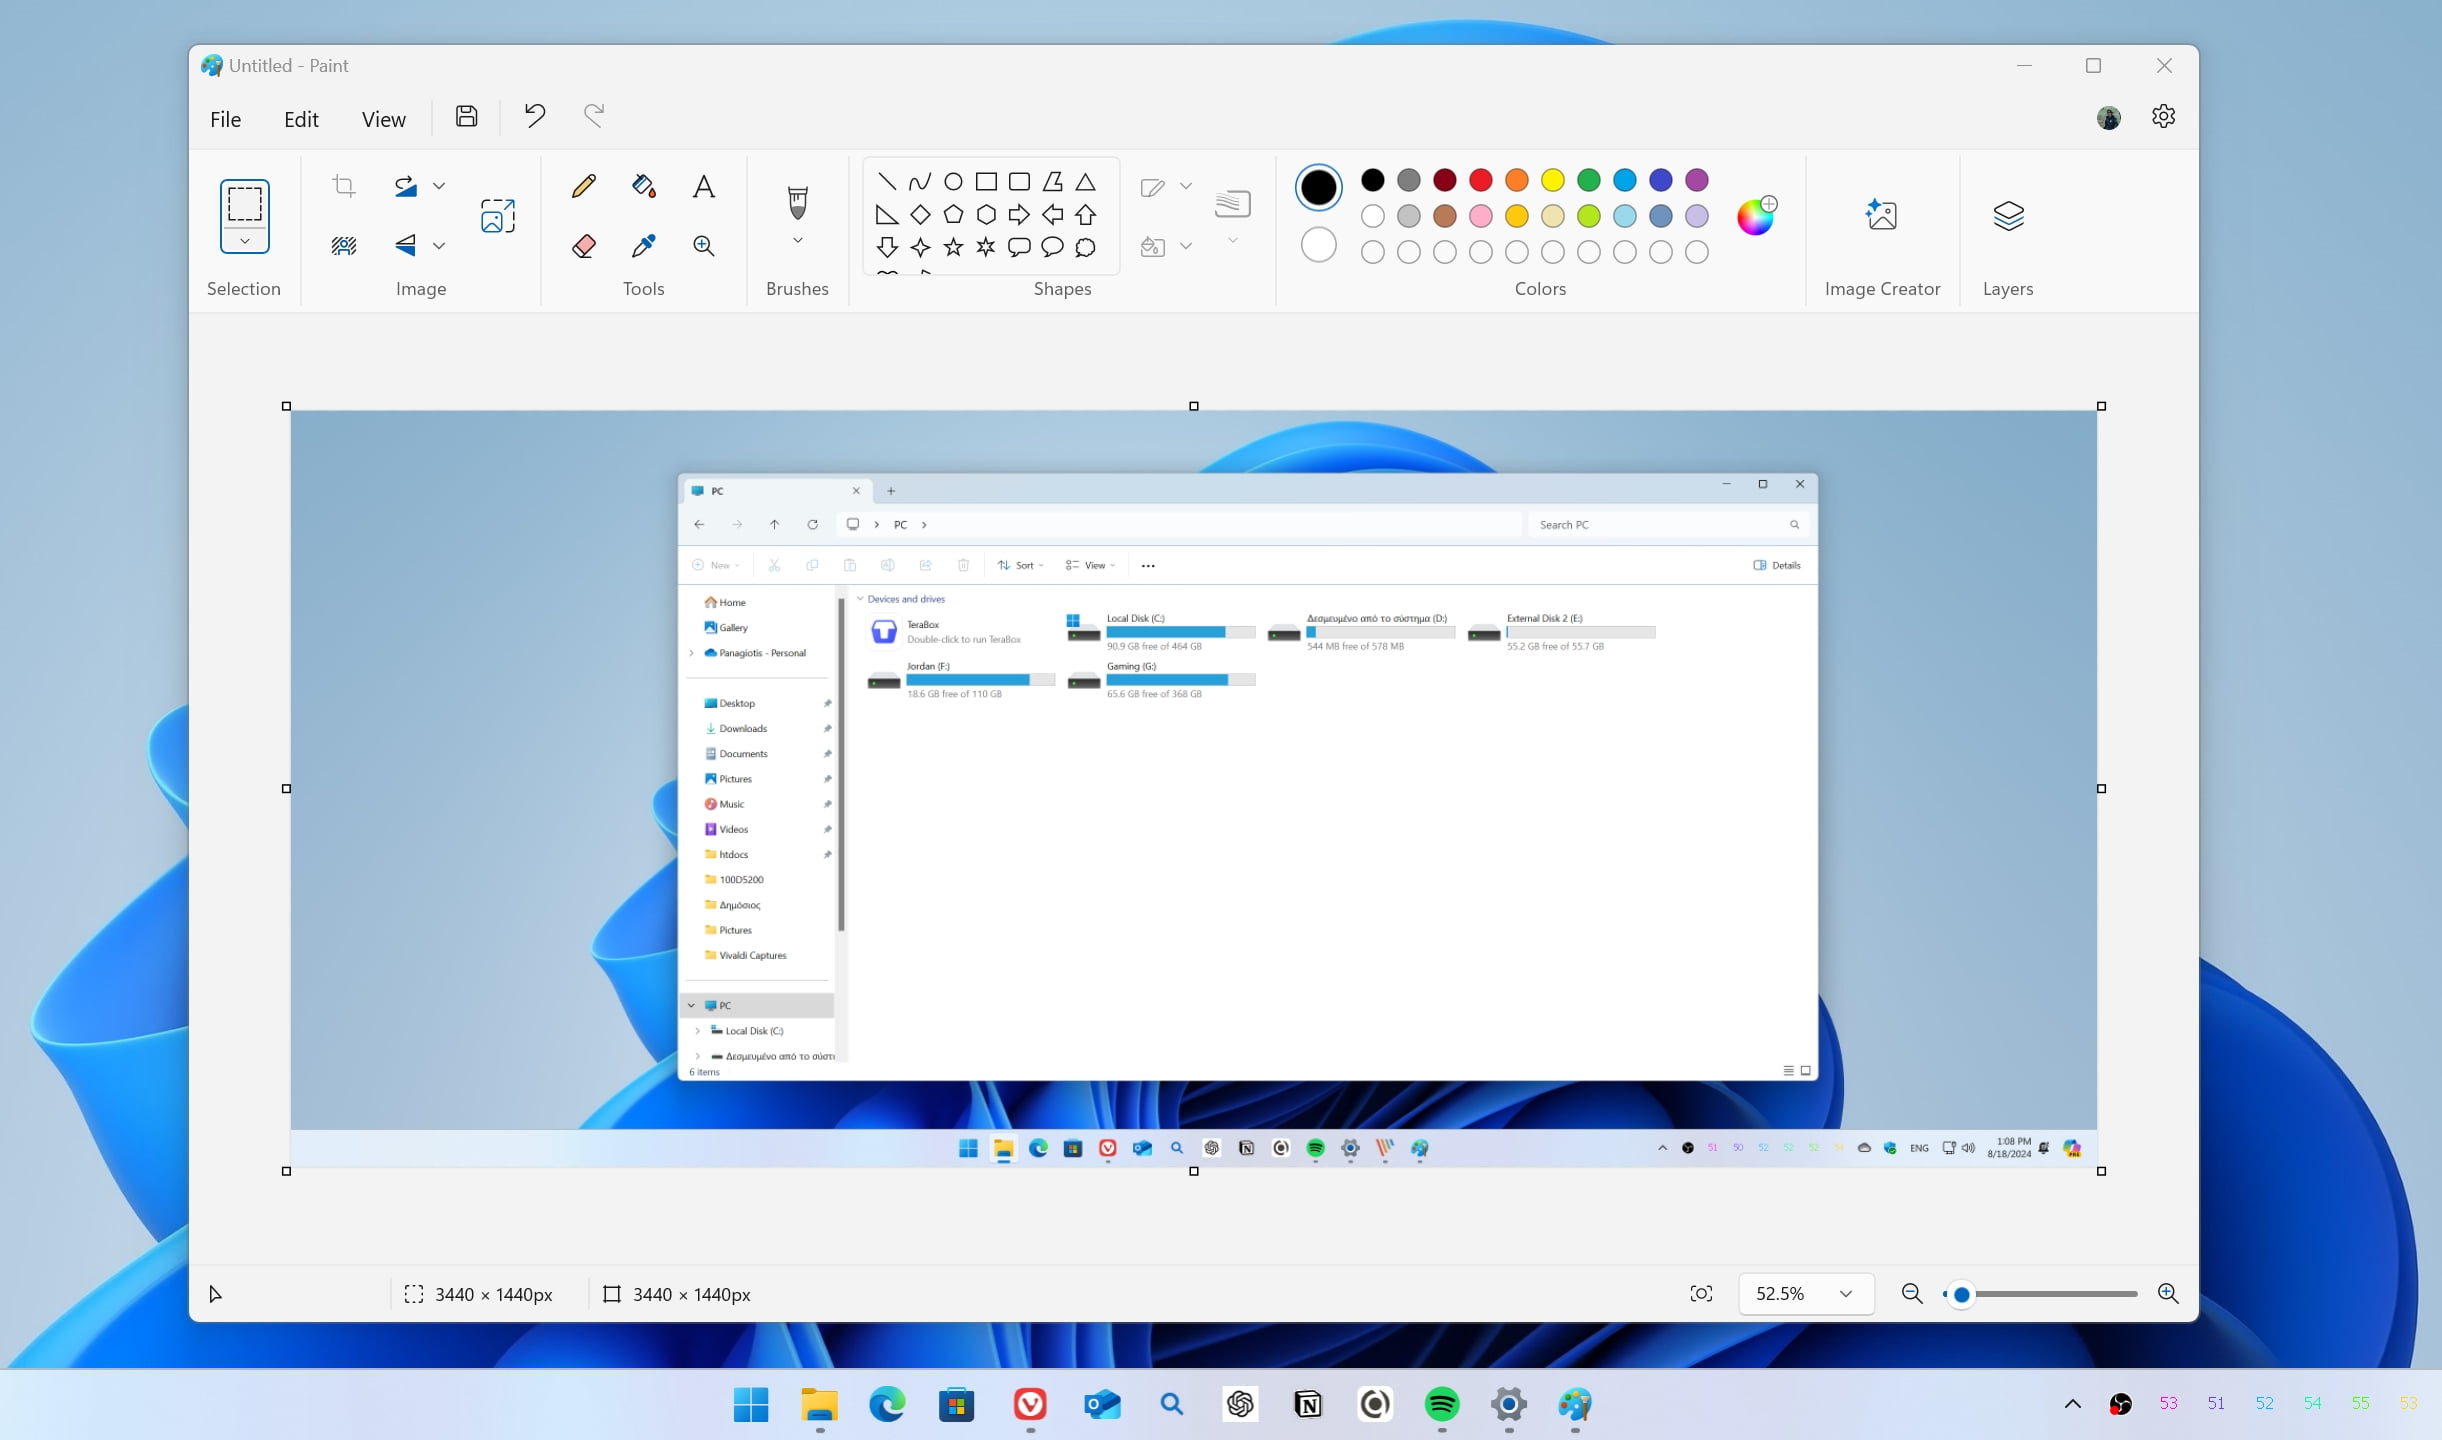
Taking screenshots and editing them with Microsoft Paint is not exactly a new feature. Although the app has seen many improvements over the last few years, it still has some options when it comes to adjusting and improving our screenshots. If you’re not interested in using third-party software to do that, Microsoft Paint will do just fine.
You can easily take screenshots with Microsoft Paint by following these steps:
- Click the Print Screen button on your keyboard. That will take a fullscreen screenshot.
- Open the Microsoft Paint, click everywhere inside it, and simply press Ctrl + V on your keyboard to paste the screenshot in the app.
- Once the screenshot is visible in Microsoft Paint, you can adjust it using any of the provided tools.
- You can save your screenshot by going to File -> Save As and choosing the image format you want to use.
The Microsoft Paint is also available to download and install through the Microsoft Store in case you’ve accidentally deleted the app from your PC. Although a great way to screenshot on Windows devices, it’s still a basic option, so if you’re looking at something more advanced, the next section may be for you.
3. Using PicPick
PicPick is one of the best tools when it comes to taking and editing screenshots on Windows. It’s a full-featured screen capture and recording tool, and it lets you choose which shortcuts you want to use to take screenshots.
PicPick has all the features and tools you’ll need to edit and adjust your screenshots, making them more professional and great for guides, walkthroughs, how-tos, etc. With PicPick, you can easily enhance your screenshots by adding arrows and numbers, text and lines, blurring specific parts, cropping your images, and adding other graphics with ease.
To screenshot on Windows with PicPick, simply follow these steps:
- Visit the Picpick.app website and click on the “Download” button.
- Install the application by executing the .exe file you’ve downloaded.
- Once the Picpick starts, you can simply choose which type of screenshot you want to take: including full-screen, window, region, fixed region, window control, scrolling window, freehand, or even repeat the last capture.
- Once you’ve taken the screenshot, you can then edit it and adjust it by using all the features and options that PicPick provides to its users.
- To save the screenshot, simply go to File -> Save Us and choose the type you want to save your image.
To make your life a whole lot easier, you can choose which shortcuts to use to take new screenshots. You can do that by going to File -> Options -> Hotkeys and selecting your preferred buttons.
Although the built-in tools won’t give you lots of options and features when it comes to editing your screenshots, you can always install a third-party app that it’s feature-rich and has all the options that you need.
What is your favourite way of taking screenshots and which tools do you use more often to edit them and make the necessary changes? Let me know in the comments down below.